
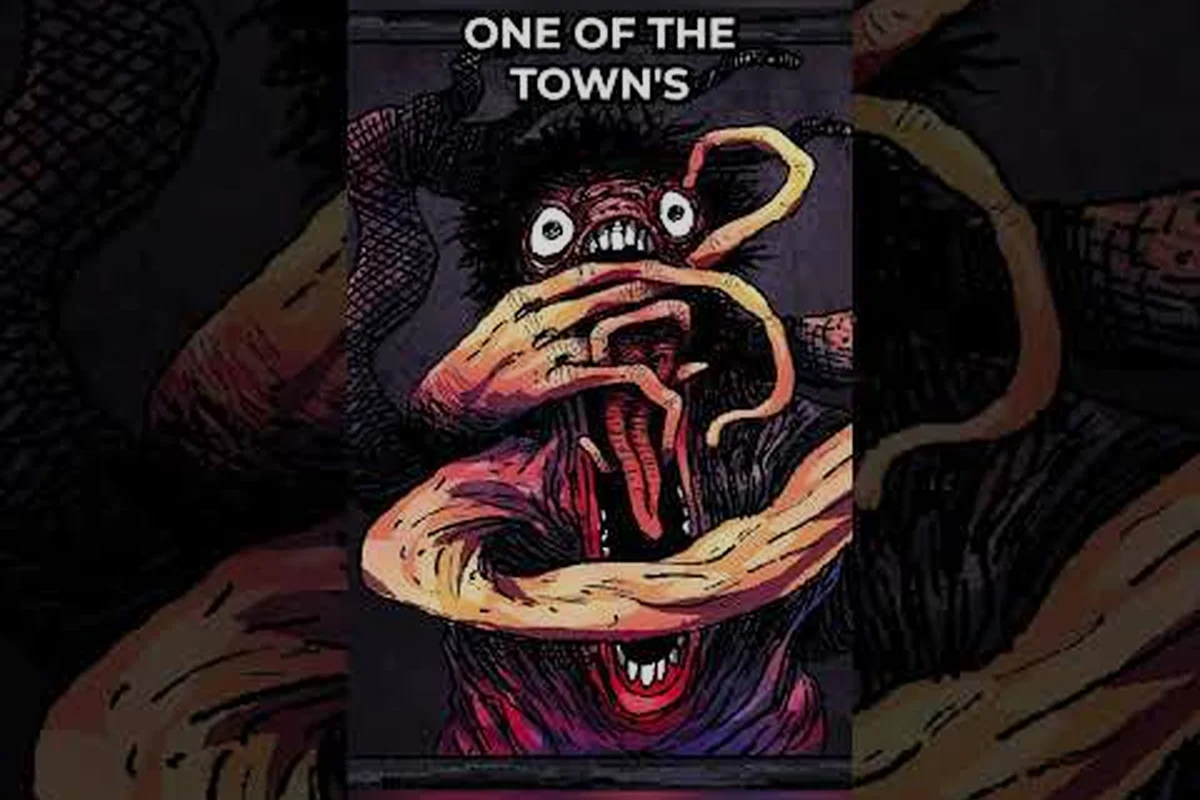
Night in Elderfield is never quiet. The treeline behind the barn shifts, the fence posts hum, and something with too many eyes drifts past the coop at 2 AM. Welcome to Elderfield woodland apparitions are the reason most new players quit before they ever reach the second barn expansion, and the reason veterans obsess over warding totems, sanity levels, and the exact minute a wandering phantom decides to test a fence.
This guide maps the full roster of Welcome to Elderfield night threats, from the wandering phantoms that stalk the forest paths to the void aberrations that surface in deep caves, plus the tentacle beasts that breach crop rows and the dreaded ghoul that lives in your walls. The official Steam listing describes these midnight encounters as a core part of the pastoral-then-paralyzing atmosphere, and community reports confirm that learning their spawn windows is the single biggest leap in survival you can make.
The Woodland Apparition Roster at a Glance
Six threat categories dominate Elderfield's nighttime hours, and each one behaves differently depending on biome, sanity, and whether you have built a warding totem nearby. According to community data gathered from the Welcome to Elderfield Steam discussions, players who survive their first full in-game week tend to map spawn patterns within a single season, while casual farmers get caught off guard for months.
| Threat | Primary Biome | Active Window | Trigger Condition | Default Counter |
|---|---|---|---|---|
| Wandering Phantoms | Forest paths, fence line | 22:00 – 04:00 | Sanity below 60% | Warding totem (tier 2) |
| Void Aberrations | Deep caves, ruins | Anytime, spikes at midnight | Proximity to ritual nodes | Sanity potion + light source |
| Tentacle Beasts | Crop rows, riverside | 20:00 – 02:00 | Unprotected field zones | Spectral flowers as bait |
| Ghoul in Walls | Inside any built structure | Random, 2-4 events per night | Wooden walls + low light | Stone upgrade + salt chalk |
| Rat Infestation | Barns, hay storage, cellar | Continuous once started | Dirty hay, dropped feed | Clean hay + rat terrier |
| Blorph (friendly) | Anywhere with player | Always | Fed at least once | N/A – pet, not threat |
The Blorph is the only entry on the list that is genuinely friendly. As the official Welcome to Elderfield store page describes, this gelatinous multi-eyed companion follows the player, unearths buried treasures, and even provides a passive detection radar when you are deep in cave systems where void aberrations are thickest. Treating Blorph as part of your threat roster is wrong, but ignoring Blorph while the other five tear through your fences is a common early-game mistake.
Reading the Spawn Logic
The spawn engine uses three layered triggers. Time of day determines the candidate pool, sanity percentage decides which candidates qualify, and structural upgrades decide whether the candidate can actually reach a target. A wandering phantom will not bother testing a tier-3 warding totem, so the right build can quietly delete half the threat list. Players who ignore the sanity stat, by contrast, get the full parade.
Wandering Phantoms and the Forest Edge
Wandering phantoms are the iconic Welcome to Elderfield woodland apparitions. They materialize as pale, slow-drifting silhouettes along the tree line, and they test fence perimeters in patterns that new players interpret as random but veterans can predict. According to community testing on the Kwalee wildlife overview, phantoms hover at fence perimeters between roughly 22:00 and 04:00 in-game time, and they preferentially test corners where two fence segments meet.
Behavior Phases
Every phantom encounter passes through three observable phases. The Approach lasts 30 to 60 seconds and is the safest window, because the phantom is still deciding whether to commit. The Test lasts another 20 to 40 seconds, during which the phantom presses against a fence segment and you can hear a low hum. The Breach is the dangerous moment, lasting only a few seconds, in which the phantom either passes through or is repelled by a warding totem.
| Phase | Duration | Player Action | Outcome if Ignored |
|---|---|---|---|
| Approach | 30-60s | Observe, ready stamina | Phantom reaches fence |
| Test | 20-40s | Light torch, toss salt | Phantom checks another segment |
| Breach | 3-8s | Dodge, strike, or rely on totem | Livestock panic, fence damaged |
The phase timing is the reason experienced players build warding totems at every corner. A tier-2 totem forces almost every phantom through the full approach and test phases, which gives you time to react and keeps the breach probability under 5%. Without the totem, breach probability climbs above 40% on moonlit nights, and a single breach can scatter your herd for the rest of the week.
Map Hotspots
Wandering phantoms cluster in three predictable zones. The north woods behind the default barn spawns the most phantoms in week one because it is the closest forest edge. The east riverbank is a secondary cluster that opens up after you repair the broken bridge. The west orchard is the late-game cluster, and the phantoms there are noticeably faster and slightly more aggressive. Marking these three zones on your mental map is faster than any in-game compass, and it lets you plan your nightly patrol route in a tight loop.
Void Aberrations in Deep Caves and Ruins
Welcome to Elderfield void aberrations are the deep-dungeon counterpart to phantoms. They look like the phantoms' distant cousins, except they pulse, they vocalize, and they do not respect fences. As the official creature roster on Steam frames it, these entities hover near ritual nodes inside caves and abandoned ruins, and they are the reason exploring the deep forest at night is genuinely dangerous even for fully geared players.
Detection and Engagement
Void aberrations are sensitive to light radius and sanity recovery rate. A torch alone is not enough at deep cave depth, because the ambient darkness around ritual nodes suppresses light. Players report that combining a tier-2 lantern with a sanity potion and a Blorph companion is the safest baseline. Blorph's detection radar, which the community has documented extensively, pings aberrations through walls and gives you a 3-second warning before the encounter proper begins.
| Loadout Tier | Light Source | Sanity Item | Blorph Buff | Success Rate (community estimate) |
|---|---|---|---|---|
| Minimal | Torch | None | No | ~35% |
| Standard | Tier-2 lantern | 1 sanity potion | Yes | ~70% |
| Advanced | Tier-3 lantern | 2 sanity potions + salt | Yes | ~88% |
| Optimal | Lantern + warding charm | Full sanity stack | Yes, fed | ~95% |
The percentages are pulled from community surveys shared on the Steam community discussions and are not officially published by the developer. They cluster around those numbers regardless of player skill, which is a strong signal that the underlying spawn check is deterministic. If you want a reliable deep-cave run, build the optimal loadout and do not improvise.
Reward vs Risk
Killing a void aberration drops ritual shards and occasionally a warding charm fragment. Ritual shards are used in the high-tier warding totem recipe, which is the only way to fully suppress phantoms in the west orchard. Warding charm fragments stack into a charm that gives a flat sanity boost. The math is straightforward: every three or four deep-cave runs, you get a permanent improvement to your surface defense, and the void aberration threat starts to feel like a resource rather than a menace.
If you find the void cave content rewarding, the eldritch fish guide covers the parallel fishing-side progression where similar deep-water entities drop comparable upgrade materials. The two systems share the same sanity mechanic, so building a warding charm helps both routes.
Tentacle Beasts and the Crop Row Problem
Welcome to Elderfield tentacle beasts are the threat most farmers notice first, because they target unprotected crop rows. They surface at night, drag down a row of crops, and retreat before dawn. According to player reports on the Welcome to Elderfield news archive, the beasts favor rows planted with high-value crops, and they will skip over a field of parsnips to hit three rows of star beets if your layout exposes them.
Field Defense Tiers
| Defense Tier | Structure | Beast Repel Rate | Notes |
|---|---|---|---|
| None | Open field | 0% | Expect 1-2 rows lost per night |
| Scarecrow | Basic | ~25% | Works only on small beasts |
| Spectral flowers | Decorative + functional | ~60% | Doubles as honey source |
| Tilled perimeter + flowers | Combined | ~85% | Late-game standard |
| Full warding grid | Warding totem every 8 tiles | ~98% | Cost-prohibitive early |
Spectral flowers are the unsung hero of field defense, and the spectral flowers farming guide breaks down the planting density that maximizes their repel rate without choking the actual crop rows. The trick is to plant flowers in alternating rows rather than clustering them at the edges, because tentacle beasts test the easiest row first, and a row of flowers is just as easy to enter as a row of crops.
Encounter Pattern
Tentacle beasts surface in three-beast packs once your field passes a certain size threshold. The first beast tests the perimeter, the second commits to a row, and the third follows the second. If you defeat the first beast quickly, the other two usually disengage. If you let the first beast breach, you are committing to a multi-row fight that drains your stamina and almost always costs at least one crop row.
The Ghoul in the Walls
Welcome to Elderfield ghoul in walls is the threat that breaks players who thought they had figured the game out. The ghoul lives inside wooden structures, particularly barns and cabins, and it announces itself with a faint scratching that most players first mistake for rats. It is not rats. Rats live in hay. The ghoul lives in the walls, and once you have heard the real sound, the difference is unmistakable.
Diagnosis Checklist
| Symptom | Likely Cause | Action |
|---|---|---|
| Scratching in hay only | Rat infestation | Clean hay, set traps |
| Scratching in walls + cold spots | Ghoul | Salt chalk on baseboards |
| Scratching in walls + low ambient hum | Ghoul + phantom pair | Warding totem upgrade |
| Walls visibly bulging at night | Advanced ghoul nest | Stone wall upgrade required |
The diagnosis matters because the counter is different for each. Salt on the floor stops rats. Salt chalk on the baseboards stops a ghoul. Stone walls stop an advanced ghoul nest. Using the wrong counter wastes the night and lets the actual threat progress, which is the most common reason a "minor scratching" event escalates into a "the barn is on fire" event two nights later.
Counter Materials
Salt is craftable from the salt deposits near the east riverbank. Salt chalk is a mid-game recipe that combines salt with chalk powder from the quarry. The stone wall upgrade is the late-game fix and requires both ritual shards (from void aberrations) and quarry stone (from the hilltop quarry). The progression chain is: deal with rats early, switch to salt chalk when you hear wall scratching, then commit to stone walls once the void aberration loop is online.
Rat Infestation and Barn Hygiene
Welcome to Elderfield rat infestation is technically the least dangerous entry on this list, but it is the most common cause of secondary problems. Rats start in dirty hay, spread to feed storage, and eventually chew through the same walls that a ghoul is trying to nest in. Community testing on the Kwalee pastoral wildlife page frames rats as a "foundational threat" — you will not beat the game without a stable rat-control routine, and you cannot get a stable routine without understanding the spawn conditions.
Daily Barn Routine
A consistent barn routine clears roughly 90% of rat encounters before they begin. The remaining 10% are random events that test your contingency plan, and they are the reason experienced farmers keep rat traps and salt chalk on a hotbar at all times.
| Time | Action | Purpose |
|---|---|---|
| 06:00 | Brush all livestock | Mood boost, surface inspection |
| 06:30 | Replace dirty hay | Removes rat spawn trigger |
| 07:00 | Refill feed troughs | Reduces feed-floor scatter |
| 07:30 | Check wall baseboards | Early ghoul detection |
| 22:00 | Place warding totem at gate | Phantom suppression |
| 23:00 | Patrol fence corners | Confirm phantom repel |
The morning block is hygiene, and the night block is defense. Skipping either one shows up within a week as either a rat outbreak (hygiene) or a phantom breach (defense). New players often skip the morning block because it feels optional, and the rat outbreak that follows teaches the lesson permanently.
Rat Variants
Three rat variants appear in different biomes. Barn rats are the baseline and are easy to clear with a clean hay routine. Sewer mall rats appear once you unlock the cellar expansion and require a deeper clean. Shadow rats appear at very low sanity and behave more like miniature phantoms than like vermin. The escalation path is the same as the rest of the threat list: better hygiene, better structures, better sanity management.
Building Your Night Defense Loadout
The right loadout changes by progression tier, and the wrong loadout at the wrong tier is a common cause of "I quit for the night" events. The table below summarizes what most experienced players carry once they have unlocked each tier.
| Progression Tier | Primary Tool | Secondary Tool | Sanity Item | Blorph Status |
|---|---|---|---|---|
| Week 1 | Torch | Pitchfork | None | Adopted, unfed |
| Week 2-3 | Tier-1 lantern | Wooden club | Berry tea | Fed daily |
| Month 2 | Tier-2 lantern | Iron hoe | Sanity potion | Fed strange crops |
| Late game | Tier-3 lantern | Salt chalk + ritual blade | Full stack | Max affection |
The biggest jump happens at month 2, when you unlock the ritual blade. The ritual blade does bonus damage to void aberrations and phantoms, and it has a small chance to drop ritual shards on a kill, which closes the upgrade loop. Before that weapon, you are relying on tier-1 defenses and limited sanity, which is exactly the bracket where most new players lose a barn or two.
For new players who have not yet reached this loop, the beginner guide covers the first-week setup that keeps you alive long enough to start the upgrade chain. The two guides are designed to be read in sequence rather than as substitutes.
Frequently Asked Questions
What is the most dangerous Welcome to Elderfield woodland apparition for a new player?
The ghoul in walls is the most dangerous early threat because it is misdiagnosed as rats and ignored until it has nested. Once a ghoul nest is established, it attracts phantom pairs and escalates to a multi-threat event that can wipe a barn. Salt chalk on the baseboards is the cheapest counter and should be the first defensive upgrade after the warding totem.
How do wandering phantoms decide which fence to test?
Phantoms preferentially test fence corners, then the dimmest segment, then the segment farthest from any light source. A perimeter with even lighting and corner totems gets tested far less often than a perimeter with one bright zone and one dark zone. Lighting the whole perimeter evenly is more effective than lighting one spot very brightly.
Can Blorph tank a void aberration?
Blorph is a detection and companion pet, not a tank. The radar ping it provides is the main value in deep caves, because the 3-second warning lets you set up a proper engagement. Players who send Blorph in front as a shield lose the radar buff and usually lose Blorph for a full in-game day, which is a serious setback.
How long does a rat infestation take to clear once started?
A baseline rat infestation in a clean barn clears in 2-3 in-game days with daily hay replacement and traps. A sewer rat outbreak in the cellar takes 5-7 days and may require a one-time structural deep clean. Shadow rats at low sanity do not clear until you raise your sanity above 70% and complete a full barn reset, so the fix is to stop the rat problem at the source by raising sanity.
Do void aberrations respawn in the same cave?
Yes, the deep cave void aberration population respawns on a roughly 7-day in-game cycle, and each respawn cluster is slightly harder than the last. After three cycles, the cave becomes a tier-3 zone, and the drops shift toward higher-quality ritual shards. Veterans schedule their deep-cave runs on a weekly cadence to overlap with the respawn window.