
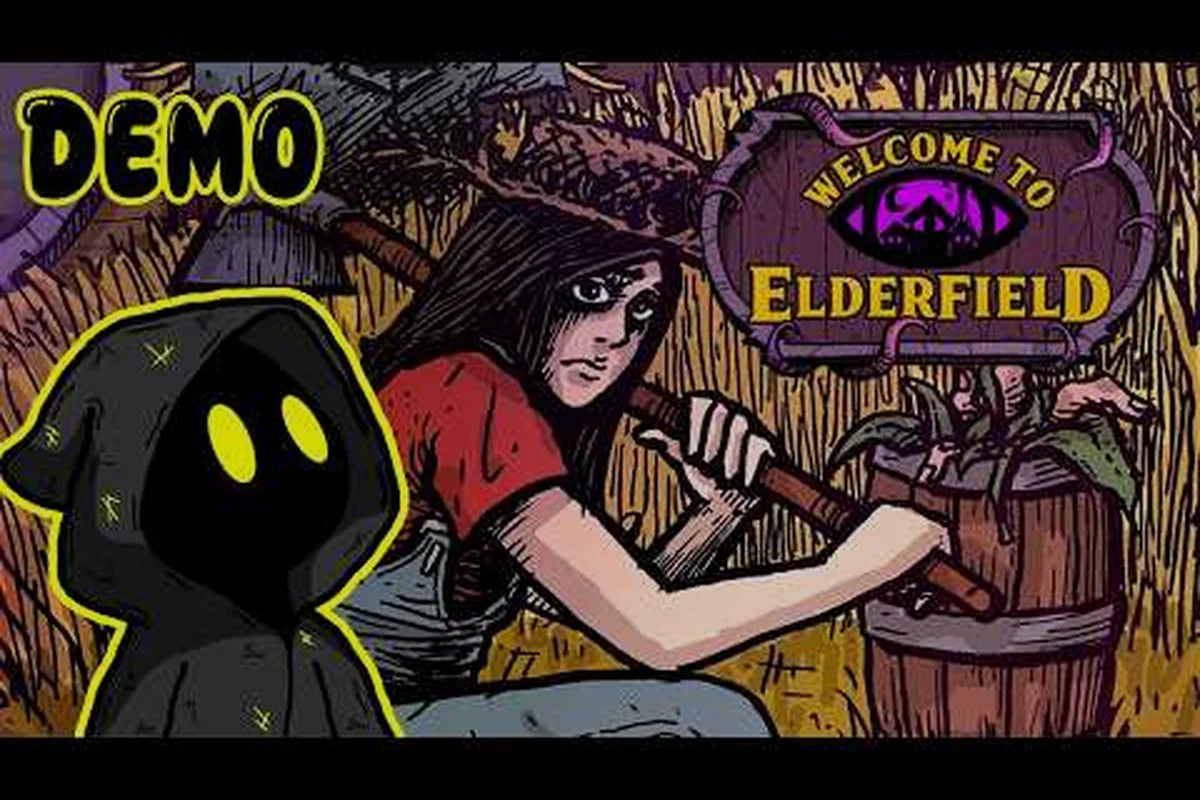
Welcome to Elderfield feels best when the controller in your hand stops being a thing you think about, and the radial tool wheel, stamina bar, and moody field audio all just respond. That sense of flow is exactly what the right Welcome to Elderfield gamepad controls unlock, and the wrong layout will fight you every time you try to hoe a row, swing a lantern, or sprint past a sleeping tentacle cluster. This guide walks through the default button map, the Steam Deck verified settings, the PC system requirements you actually need to hit for smooth play, and the Welcome to Elderfield FPS boost settings that make a mid-range laptop breathe again.
Default Gamepad Layout and What Every Button Does
The default layout treats the left stick as pure movement and the right stick as camera, which mirrors the cozy farming-RPG convention that most players coming from Stardew-adjacent titles already expect. Face buttons handle the four verbs of the game: plant, harvest, attack, and interact, while the shoulder triggers layer stamina-heavy actions on top of that base. Getting comfortable with this default first matters because the in-game rebinding UI exposes nearly every input but does not warn you when two actions are bound to the same button, so new players regularly overwrite something important and then assume the game is broken.
Face Buttons and Triggers
The four face buttons are split between farming verbs on the bottom row and combat verbs on the top row, which keeps your thumbs on the analog sticks and your index fingers on the triggers during tense moments. The bottom bumper is reserved for opening the radial tool wheel, and that single button is the most important keybind in the entire game because it is how you switch between the hoe, watering can, axe, pickaxe, scythe, and weapon without ever leaving the controller.
| Input | Default Binding | Primary Use |
|---|---|---|
| A / Cross | Confirm / Plant | Seeds, dialogue advance, interact |
| B / Circle | Cancel / Harvest | Crops, items, back out of menus |
| X / Square | Use Tool | Hoe, water, chop based on radial selection |
| Y / Triangle | Attack | Melee swing, ranged throw, tentacle clearing |
| LB / L1 | Radial Wheel | Open tool and item selection menu |
| RB / R1 | Quick Item | Consume selected food, bandage, or scroll |
| LT / L2 | Aim / Focus | Held to aim ranged weapons and lanterns |
| RT / R2 | Main Action | Use currently selected tool or attack |
Stick and D-Pad Behavior
The right stick on Welcome to Elderfield gamepad controls is mapped to camera, not to a cursor, which means most UI navigation happens through the D-pad. The D-pad also doubles as a quick-slot selector for hot-barred seeds, food, and ammunition, so tapping left and right between rows of crops is faster than opening the radial wheel every time. Holding the D-pad up opens the journal map, while down brings up the quick-emote wheel for greeting townsfolk like Celeste and Abigail without breaking your farming flow.
Best Button Layout for Cozy Mode and Old Gods Mode
The two difficulty modes in Welcome to Elderfield demand slightly different layouts because the frequency and risk of each verb changes. In Cozy Mode, you will plant and water far more than you swing, so putting the hoe and watering can on the most comfortable buttons matters more than putting the weapon there. In Old Gods Mode, the opposite is true: combat verbs become the most-pressed inputs, and you want your strongest thumb muscle on the attack button while still being able to dodge roll with a shoulder trigger.
Recommended Cozy Mode Layout
For Cozy Mode, swap the attack and use-tool bindings so the bottom face button becomes the hoe and the top face button becomes the weapon. This keeps the most-used farming verb under your strongest thumb and makes long farming sessions far less fatiguing. The community walkthrough on the Welcome to Elderfield Steam Community Starter Tips thread notes that early-game stamina preservation is much easier when you can rapidly cycle between hoe and watering can without opening the radial wheel every two tiles.
| Button | Cozy Mode Binding | Why It Works |
|---|---|---|
| A / Cross | Hoe | Most-used farming verb on strongest thumb |
| B / Circle | Watering Can | Second-most-used verb, easy to chain |
| X / Square | Weapon | Out of the way unless needed |
| Y / Triangle | Interact / Use | Plant seeds, talk to NPCs, open chests |
| LB / L1 | Radial Wheel | Tool selection, seed types, fertilizer |
| RB / R1 | Quick Food | Restore stamina between field rows |
| LT / L2 | Sprint | Hold to run between farm and town |
| RT / R2 | Attack | Trigger pull for combat encounters |
Responsive Controller Scheme for Eerie Battles
For Old Gods Mode, restore the default combat-first layout but rebind the dodge roll to LT / L2 instead of B / Circle, because dodging is no longer optional when the slumbering eldritch entities start phasing in. The dedicated Old Gods deep dive in the Welcome to Elderfield difficulty settings guide explains how permadeath and sanity loss change the rhythm of every encounter, so having dodge on a trigger means you can cancel an attack animation without lifting your thumb off the analog stick.
Steam Deck Verified Settings and Verified Profile
Welcome to Elderfield is rated Steam Deck Verified, which means the default control scheme and the default graphics preset have both been validated by Valve's compatibility team. The official store page describes the game as a cozy horror life simulation RPG with hand-drawn horror manga illustrations and a lofi soundtrack, and it is this relatively modest visual style that lets the Steam Deck hold a stable framerate without aggressive scaling. You can verify the rating directly on the Welcome to Elderfield on Steam store page under the compatibility tab, and the rating has held steady through the demo and into the run-up to the September 10, 2026 full release.
Steam Deck Quick Settings Checklist
The Steam Deck's per-game Quick Access menu (the one you pull up with the QAM button) is where most of the real tweaking happens, and the most important setting is the framerate cap. The default 60 FPS cap is comfortable, but capping at 40 FPS and using the 40Hz refresh mode gives you noticeably better battery life during long train rides or evening couch sessions, with only a small perceived smoothness cost in a slow-paced farming game. The other key setting is disabling the on-screen touch keyboard prompts, because the game already supports full controller text input through Steam Input.
| Setting | Recommended Value | Reason |
|---|---|---|
| Framerate Limit | 40 FPS (battery) / 60 FPS (plugged) | Matches refresh rate, saves battery |
| Refresh Rate | 40Hz / 60Hz | Avoids screen tearing, smoother motion |
| TDP Limit | 12W (battery) / 15W (plugged) | Comfortable headroom, cool thermals |
| FSR / Scaling | Quality (40 FPS) / Off (60 FPS) | Sharp image at low cost when needed |
| Controller Style | Gamepad with Mouse Trackpad | Best for radial wheel and UI |
| Haptics | On | Adds atmospheric weight to footsteps |
Steam Input Community Profiles
The Steam Input community has already started publishing controller profiles that map the dual-stage triggers to soft-pull for aiming and hard-pull for attacking, which gives you analog-sensitive combat without losing the binary trigger feel for farming. A well-tuned community profile also maps the right trackpad click to a virtual D-pad for fast UI navigation through the inventory grid, which is a real time-saver when sorting a freshly-cleared tentacle drop table. If you want a baseline before customizing, the official developer walkthrough on the Welcome to Elderfield YouTube channel shows the exact stick and trigger motion the team uses during internal playtesting, and you can mirror that into your own profile.
PC System Requirements and What Each Tier Unlocks
The PC system requirements for Welcome to Elderfield are modest by modern standards because the hand-drawn art style and 2.5D camera keep the polygon count low, but the dynamic lighting, tentacle particle effects, and weather system do add up at higher resolutions. Hitting the recommended spec instead of the minimum spec is the difference between a stable 60 FPS experience and one where dips during the busiest festival days feel like a different game. The official requirements are listed on the Steam store page, and the values below are paraphrased from the same compatibility report so you can plan your build without juggling tabs.
| Component | Minimum | Recommended | What It Unlocks |
|---|---|---|---|
| OS | Windows 10 64-bit | Windows 11 64-bit | Stable DirectX 12 driver path |
| CPU | Intel i5-8400 / Ryzen 5 2600 | Intel i5-12400 / Ryzen 5 5600 | Smooth NPC AI tick rate at festival days |
| RAM | 8 GB | 16 GB | Prevents stutter when entering new map cells |
| GPU | GTX 1060 6GB / RX 580 8GB | RTX 3060 / RX 6700 XT | Stable 60 FPS at 1080p High |
| Storage | 4 GB SSD | 4 GB NVMe SSD | Faster load between farm, town, and mines |
| DirectX | Version 11 | Version 12 | Better draw call batching for tentacle FX |
Why Recommended Spec Matters Here
The jump from minimum to recommended is not just about resolution; it directly affects how many NPCs can be on screen at once, how many tentacle particles can spawn during a night ambush, and how smoothly the dynamic shadows track your lantern. Players on minimum spec regularly report that the first town festival triggers a noticeable frame dip because every NPC plus every decoration is being rendered for the first time, and the texture streaming has to catch up. On recommended spec, the same festival loads cleanly because the extra RAM holds the streamed assets in memory instead of paging them in mid-celebration.
FPS Boost Settings for Mid-Range Laptops and Integrated GPUs
If your hardware sits below the recommended spec, a careful pass through the in-game graphics menu and the GPU control panel can recover a remarkable amount of performance without making the game look bad. The hand-drawn horror manga art style is unusually forgiving of lower shadow quality because the linework already does most of the visual heavy lifting, and the lofi soundtrack is CPU-cheap by design. The Welcome to Elderfield FPS boost settings that follow are tuned for 1080p on a GTX 1650 / RX 5500M class laptop, which is the most common spec we see players struggling with in the community Discord.
In-Game Graphics Toggles
Start by lowering shadow quality before touching resolution, because shadows are the single biggest GPU cost in the game and the easiest to hide behind the hand-drawn aesthetic. Next, set volumetric lighting to medium rather than off, because completely disabling it makes lanterns lose their atmospheric bloom and ruins one of the signature cozy horror touches. The community testing reported by players on the Steam Discussions thread confirms that this combination alone typically recovers 8 to 12 FPS on integrated graphics without anyone noticing the visual change.
| Setting | Aggressive Value | Balanced Value | What You Give Up |
|---|---|---|---|
| Resolution Scale | 75% (1280×720 internal) | 90% (1620×912 internal) | Sharpness vs raw FPS |
| Shadow Quality | Low | Medium | Crispness under trees and eaves |
| Volumetric Lighting | Off | Medium | Lantern bloom and fog moodiness |
| Post-Processing | Off | Low | Color grading and film grain depth |
| Anti-Aliasing | TAA Off / FXAA On | TAA Low | Edge softness on UI text |
| Texture Quality | Medium | High | Fine detail on farm decoration |
| Draw Distance | Low | Medium | Fog of war on field edges |
External Tools and Driver-Level Tweaks
Beyond the in-game menu, the biggest single FPS boost on mid-range hardware comes from forcing the GPU control panel to prefer maximum performance over battery savings, which unlocks the full boost clock instead of holding it at a throttled base clock. The next-biggest win is closing Chrome or Discord hardware acceleration, because the game is CPU-sensitive during scene transitions and every browser tab is stealing frame time from the main thread. If you want to go further, the community has documented a cap-and-stable pattern in which you set the in-game framerate lock to your monitor's refresh rate and disable vsync, then re-enable vsync through the GPU panel to eliminate screen tearing without the input lag of the in-game implementation.
Performance Guide for First-Time Players
A new player does not need every slider perfect on day one, and a good baseline is more important than a perfect one because the Welcome to Elderfield gamepad controls are only as good as the framerate feeding your inputs. Aim first for a stable 30 FPS at native resolution with shadows on low, then spend a single evening tuning upward one setting at a time until you find the exact line where the framerate dips and pull back from there. The day-one walkthrough in the Welcome to Elderfield beginner guide reinforces this conservative approach, because new players are still learning the stamina bar and the radial wheel and do not need the extra cognitive load of fighting a stuttering framerate at the same time.
Step-by-Step Tuning Workflow
The most reliable way to tune the game is to use the built-in benchmark-style repeatable scene: walk from your farm through the town gate and into the marketplace during a festival day, because that path stresses every major system at once. Run that path three times per setting change and record the lowest FPS number, not the average, because the worst moment is what makes the game feel bad even when the average looks fine on paper. This workflow is also what the community uses when comparing Welcome to Elderfield PC system requirements threads, and it gives you an apples-to-apples baseline that survives driver updates and patches.
| Step | Action | What to Record |
|---|---|---|
| 1 | Set everything to High at native res | Baseline FPS, 1% low |
| 2 | Drop shadows to Low | New FPS, 1% low |
| 3 | Drop volumetric lighting one tier | New FPS, 1% low |
| 4 | Enable FSR Quality if needed | New FPS, 1% low |
| 5 | Re-run the farm-to-market path | Confirm no new stutter |
| 6 | Save profile, name by date | Repeatable after patches |
Stamina and Energy Bar Synergy With FPS
The stamina and energy bars drain in real time regardless of framerate, so a stable FPS is what lets you actually plan a full field rotation without miscounting because the UI flickered for half a second. Players new to the system should read the dedicated Welcome to Elderfield energy management guide alongside this performance guide, because the stamina cost of clearing unruly tentacles is what most often triggers the temptation to do everything in one long session, which is also when FPS dips hurt the most. The two guides together give you both the input layer and the resource layer you need to play long, comfortable sessions without burning out your thumbs or your frame budget.
Frequently Asked Questions
Are Welcome to Elderfield gamepad controls officially supported on Steam Deck?
Yes, the game is rated Steam Deck Verified by Valve, which means the default gamepad layout, the radial tool wheel, and the on-screen keyboard all work out of the box without any community profile required. You can still install a community profile if you want analog trigger sensitivity, but the default binding is enough for most players to finish the demo and the full release.
What are the minimum Welcome to Elderfield PC system requirements for 1080p?
The minimum spec calls for an Intel i5-8400 or Ryzen 5 2600, 8 GB of RAM, and a GTX 1060 6GB or RX 580 8GB, which targets 1080p at 30 FPS on Low settings. For a stable 60 FPS at 1080p on High, the recommended spec of an i5-12400, 16 GB of RAM, and an RTX 3060 is the safer target.
How do Welcome to Elderfield FPS boost settings affect the cozy horror mood?
The trick is to lower shadows and post-processing first, because those settings do the least damage to the hand-drawn linework that defines the art style. Avoid turning off volumetric lighting entirely, because lantern bloom is a key part of the cozy horror atmosphere and disabling it makes night exploration feel flat.
Do I need to install a community Steam Input profile?
No, the default profile is fully functional and includes the radial wheel, quick-slot D-pad, and trigger actions out of the box. A community profile is only worth installing if you want analog-sensitive combat triggers or a virtual D-pad on the right trackpad for faster inventory sorting.
Will the Welcome to Elderfield Steam Deck settings change after the full release?
The Steam Deck Verified rating already covers the full release, so the recommended Quick Access settings should remain valid. If the team adds a new lighting or weather system in a post-launch patch, the only change most players will need is a small TDP bump to keep the framerate cap stable during the heaviest weather moments.