
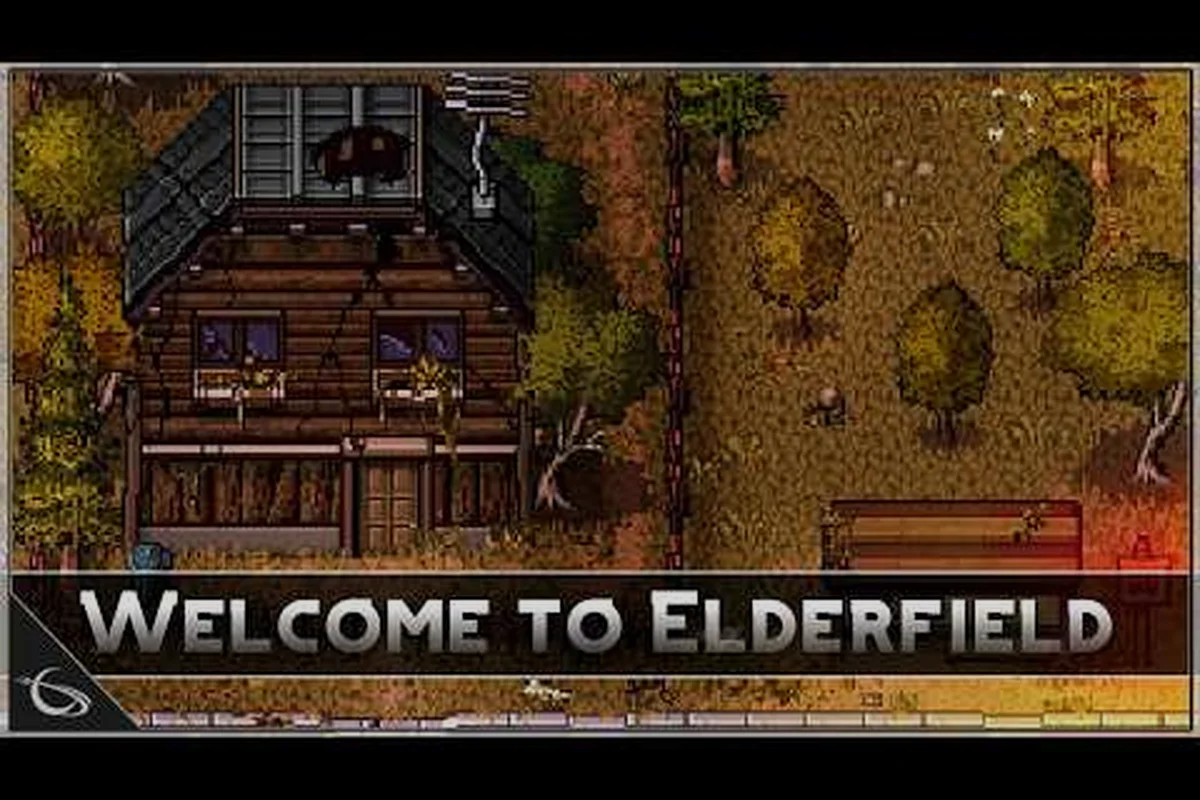
Pickaxe in hand, lantern flickering, rope uncoiling down the first shaft — mining in Welcome to Elderfield quickly becomes the backbone of every economy, build, and crafting chain you will touch. The deeper you go, the richer the rewards, but also the deadlier the enemies, the more punishing the stamina tax, and the more unforgiving the rock walls. This Welcome to Elderfield mining guide walks you through every floor, every ore tier, and every pickaxe upgrade so you spend less time lost in the dark and more time hauling back copper, iron, gold, and the rare gemstones that fund your gothic dream home.
Getting Started: How to Mine in Welcome to Elderfield
Before you ever crack the first stone, you need the right preparation. Mining is a stamina-gated activity, and walking into the lower floors without food buffs, a repaired pickaxe, or a clear inventory is the fastest way to lose progress. Players who treat the mines like a quick errand usually end up blacking out on floor 12 and respawning at the surface with an empty bag.
Unlocking the Mine and Your First Pickaxe
The local mines unlock after you finish the introductory quest chain from Mayor Hawthorne, which also rewards the Rusty Pickaxe — your starter tool. The Rusty Pickaxe has a low mining power, meaning each ore node requires multiple swings, and it drains stamina quickly. According to the Welcome to Elderfield Steam page, the mines are a multi-floor resource hub from the very first day of release, so there is no artificial delay before you can begin your descent.
Once unlocked, the mine entrance sits just south of the town square, marked by a wooden signpost and a permanent NPC named Greely who sells consumable buffs. Talk to Greely once per in-game day to refresh his stock of Mining Tonic (temporary +15% swing speed) and Stamina Jerky (restores 30 stamina instantly).
First-Day Mining Checklist
Before you step into the first shaft, walk through this starter checklist:
-
Eat a cooked meal for the Well Fed buff (+1 maximum stamina heart)
-
Clear at least 10 inventory slots for raw ore
-
Carry 3 Healing Salves in your hotbar
-
Equip the Rusty Pickaxe and a Wooden Shield (blocks one rock burrower charge)
-
Mark floor 5 on your map as a return point for the first elevator unlock
The elevator system is the single most important quality-of-life feature. According to Steam Community discussions on the mining system, an Elevator Checkpoint activates every five floors, so reaching floor 5 permanently grants fast travel back to that depth. New players who skip the early floors lose dozens of minutes per run, which compounds across a full play session.
Mines Walkthrough: Floor-by-Floor Difficulty and Rewards
The mines in Welcome to Elderfield are not a flat difficulty curve — they are a layered ecosystem where each stratum introduces a new ore tier, a new enemy archetype, and a new environmental hazard. The official Steam store description notes that deeper floors contain aggressive rock burrowers, shadow leeches, and poisonous gas pockets, which is why your Welcome to Elderfield mines walkthrough needs to respect the depth ladder.
Floor Tier Breakdown
| Floor Range | Primary Ore | Enemy Type | Environmental Hazard | Recommended Pickaxe |
|---|---|---|---|---|
| 1–10 | Copper | Rock Burrower | None | Rusty / Copper |
| 11–20 | Iron, Coal | Shadow Leech | Falling Rubble | Copper / Iron |
| 21–35 | Gold, Amethyst | Toxic Slime | Gas Pockets | Iron / Steel |
| 36–50 | Eldritch Ore, Ruby | Old God Minion | Curse Zones | Steel / Mythril |
| 51+ | Pristine Gemstones | Mini-Boss Patrols | Lava + Curse | Mythril / Void |
The shift from floor 1 to floor 50 represents a complete economic transformation. Early runs fund your house and basic tool upgrades; mid-game runs buy the Sprinkler System for farming automation; late-game runs bankroll the high-end gothic decor from the workshop. If you are mapping out the broader progression path, the deeper floors tie directly into the Welcome to Elderfield mining artifacts and smelting profits loop, where raw ore becomes refined bars and bar-fed crafting.
What to Do on Each Floor
-
Floors 1–10 (Copper Era): Focus on clearing every visible copper node. Drop down any ladder you find, even if you came for a different floor, because copper ore locations on the upper levels are dense and unguarded. The Copper Vein respawns every in-game day, so a daily five-floor run is the most efficient gold-per-minute strategy for week one.
-
Floors 11–20 (Iron Era): Iron nodes are smaller and embedded in rock walls rather than loose boulders. Bring bombs to clear stone quickly because the swing cost of the Copper Pickaxe is brutal on dense rock. The Shadow Leech debuffs your max stamina by one heart for 60 seconds if it hits you, so a shield bash before the lunge is critical.
-
Floors 21–35 (Gold Era): Gold veins are rare but high-yield. Each node drops 3–5 gold ore plus a small chance of an Amethyst Crystal. The Toxic Gas Pocket hazard is the real gatekeeper: without an Herbal Filtration Mask, you black out in 8 seconds. Always carry one mask per 10 floors of intended depth.
-
Floors 36–50 (Eldritch Era): This is where the mines cross over from resource grind into dungeon crawl. The Curse Zone debuffs healing effectiveness by 50%, so stock up on healing salves before each trip. Mini-Boss Patrols drop Pristine Gemstones used for the rarest workshop recipes.
For players planning a longer mining arc, the floor-by-floor elevator math matters: floors 1–5 unlock the first shortcut, floors 6–10 unlock the second, and so on. By floor 50 you have ten elevators, which means you can fast-travel down to floor 45, mine for 20 minutes, and resurface in under a minute.
Pickaxe Guide and Pickaxe Upgrade Tiers
The pickaxe is not just a tool — it is the engine that determines how fast you progress through the entire game. Each tier of pickaxe changes swing count per node, stamina cost per swing, and the Minimum Floor Tier at which it functions efficiently. Picking the right upgrade at the right time is the single biggest lever for mining efficiency.
Pickaxe Upgrade Tier Comparison
| Pickaxe Tier | Mining Power | Stamina/Swing | Ore Tier Unlocked | Crafting Cost | Best Floor Range |
|---|---|---|---|---|---|
| Rusty Pickaxe | 5 | 4 | Copper | Starter quest | 1–5 |
| Copper Pickaxe | 12 | 3 | Copper, Iron | 5 Copper Bars + 200g | 1–20 |
| Iron Pickaxe | 22 | 3 | Iron, Gold | 5 Iron Bars + 500g | 11–35 |
| Steel Pickaxe | 35 | 2 | Gold, Eldritch | 5 Steel Bars + 1 Amethyst | 21–45 |
| Mythril Pickaxe | 50 | 2 | Eldritch, Gemstones | 5 Mythril Bars + 1 Ruby | 36–60 |
| Void Pickaxe | 75 | 1 | All tiers + Void Nodes | 1 Prismatic Geode + 10,000g | 51+ |
According to community data, the Copper Pickaxe is the most cost-effective first upgrade because it cuts stamina per swing by 25% and unlocks iron nodes in one tool. Players who skip straight to the Iron Pickaxe waste copper bars that could fund the Sprinkler System, which is arguably a better week-two investment for new farms.
When to Upgrade Your Pickaxe
-
After 20 copper runs — bank enough copper to smelt into 5 bars
-
Before floor 12 — Iron nodes require the Copper Pickaxe minimum
-
After 10 iron runs — bank enough iron for the Steel upgrade
-
Before floor 36 — Eldritch Ore is invisible to weaker pickaxes (you hit but get zero ore)
-
After your first Prismatic Geode — the Void Pickaxe is endgame-only
If you want a complete ore-by-ore map, the Welcome to Elderfield iron, gold, and gemstone locations guide pairs perfectly with this upgrade path because it shows where each tier of ore clusters so you can plan smelting runs in batches.
Ore Types, Smelting Profits, and the Bar Economy
Raw ore is just the starting point. The real profit in Welcome to Elderfield mining comes from smelting ore into bars, because bars sell for 3–4x the raw ore price at the town's general store and feed every workshop recipe. The smelting loop also creates natural downtime you can fill with crafting, fishing, or farming side activities.
Raw Ore vs Smelted Bar Value
| Ore Type | Raw Sell Price | Bar Sell Price | Bar Crafting Cost | Profit per Bar | Smelt Time |
|---|---|---|---|---|---|
| Copper Ore | 8g | 35g | 2 Coal | 27g | 30 sec |
| Iron Ore | 20g | 85g | 3 Coal | 65g | 60 sec |
| Gold Ore | 60g | 250g | 4 Coal | 190g | 90 sec |
| Eldritch Ore | 150g | 600g | 5 Coal + 1 Amethyst | 450g | 120 sec |
| Mythril Ore | 400g | 1,600g | 8 Coal + 1 Ruby | 1,200g | 180 sec |
The Smelt Profit column is the key number: it shows the real gold-per-minute of your mining operation after the smelting step. Gold bars are the inflection point because they fund the Sprinkler System, which in turn frees your daily routine from manual crop watering — and that time savings compounds across an entire season. Players who skip the smelting step end up selling raw ore and losing 60–70% of the available profit margin.
Smelting Workflow Tips
-
Always carry Coal in your hotbar — each bar needs 2–8 coal depending on tier
-
Smelt in batches of 5 to maximize furnace efficiency (any single bar smelt burns the same startup fuel cost)
-
The Coal Node spawns on every floor alongside the main ore, so mine it as you go
-
Keep at least 2 of every bar type in storage for emergency tool repairs
Strategy and Recommendations: Building a Daily Mining Routine
Mining in Welcome to Elderfield rewards consistency and smart route planning more than raw playtime. A 30-minute focused run with the right buffs, the right pickaxe, and a clear target floor will out-earn a two-hour unfocused grind every single time. The key is treating mining like a scheduled job rather than a side activity you dip into between other tasks.
Sample Day-One Daily Mining Routine
| Time Block | Action | Expected Output |
|---|---|---|
| 6:00 AM | Eat breakfast, apply Mining Tonic | +15% swing speed buff |
| 6:15 AM | Take elevator to floor 5 | Land at depth in 5 sec |
| 6:20 AM | Clear copper nodes, descend | ~25 copper ore |
| 7:00 AM | Reach floor 10, mine iron | ~12 iron ore |
| 7:30 AM | Smelt bars at town furnace | 5 copper bars + 2 iron bars |
| 7:45 AM | Sell extras, restock consumables | Net +300g profit |
| 8:00 AM | Return to surface, switch to farming | Daily loop complete |
This routine produces a consistent 300–500g per in-game day, which fully funds a new house room every 5 in-game days and a new tool upgrade every 10 days. The deepest level you visit each day should grow by 5 floors every 2–3 in-game days until you hit the elevator cap at floor 50, after which you simply farm your preferred depth for profit.
Common Mistakes to Avoid
-
Forgetting the elevator — many new players walk all the way back to the surface after each run, wasting 10+ minutes per trip
-
Mining without buffs — the Mining Tonic alone saves 15% of total run time
-
Selling raw ore — always smelt first; the profit gap is 3–4x
-
Skipping coal — without coal, smelted bars cannot be crafted and you lose the entire smelt loop
-
Going too deep too fast — floor 30+ requires the Herbal Filtration Mask or you black out in toxic gas
If you find yourself maxed out on inventory space from ore runs, a side trip to the Welcome to Elderfield fishing guide is a nice complement because fish sell for steady gold and use entirely different inventory slots, which lets you stretch a single play session across two income streams.
Advanced Tips: Geodes, Bombs, and Endgame Mining
Once you have the Steel or Mythril Pickaxe and a stockpile of bars, the mining game shifts from "gather resources" to "hunt artifacts and crack geodes." These advanced activities are where the real long-term value lives, because geode drops can include unique furniture recipes, fossilized tentacles for the museum, and crafting gems that have no other source.
Geode Cracking Rewards
| Geode Type | Source | Common Drops | Rare Drops |
|---|---|---|---|
| Common Geode | Floors 1–20 | 2–5 stone, 1 coal | Small fossil, 5g |
| Mineral Geode | Floors 21–40 | 1 amethyst, 2 iron | Ancient relic, 50g |
| Prismatic Geode | Floors 41+ | 1 ruby, 1 eldritch shard | Furniture recipe, 500g |
| Void Geode | Boss drops only | 1 void fragment | Mythic weapon skin |
Bring every geode you find back to Molly's Workshop for cracking. According to the official Kwalee deep dive on the mining system, the workshop uses a cracking minigame where the timing of your hammer swing determines whether you get a common drop or a rare drop. Practice on common geodes first because the timing window widens as you upgrade the workshop anvil.
Bomb Crafting for Mass Clearing
Bombs are the secret weapon of efficient mining. A single Standard Bomb clears a 3x3 area of weak rock in one blast, which would otherwise take 20+ pickaxe swings. Craft them at the workshop with 2 stone + 1 coal + 1 salve, and carry 5 per run. On floors 21+, the Mega Bomb (5 stone + 3 coal + 1 ruby) can open shortcut tunnels between elevator checkpoints, saving hours of backtracking over a full play session.
For a full breakdown of the geode cracking minigame, the elevator checkpoint system, and the Welcome to Elderfield emerald and amethyst locations guide is the perfect companion read because it maps where the rare gem nodes cluster across all 50+ floors.
Frequently Asked Questions
What is the best early-game pickaxe upgrade in the Welcome to Elderfield mining guide path?
The Copper Pickaxe is the strongest first upgrade because it reduces stamina cost per swing by 25%, unlocks iron nodes immediately, and costs only 5 copper bars plus 200 gold. Skipping straight to the Iron Pickaxe usually bankrupts new players before they can afford the Sprinkler System that unlocks passive farming income.
How deep should I mine on day one of my Welcome to Elderfield mines walkthrough?
Stick to floors 1–10 on day one and unlock the floor 5 elevator before anything else. According to community data, the elevator checkpoint every five floors is the single biggest time saver in the entire mining system, and rushing past it without activating is the most common regret reported by players in week one.
Where do I find copper ore locations most efficiently in Welcome to Elderfield?
The densest copper clusters are on floors 3–7, where each room contains 2–4 copper nodes. The Copper Vein in the south tunnel of floor 4 respawns every in-game day and yields 8 copper ore per clear, which is the most consistent early-game gold source for new players.
How do pickaxe upgrades interact with higher ore types in Welcome to Elderfield?
Each pickaxe tier has a minimum floor requirement because weaker pickaxes hit higher-tier ore but yield zero resources. The Iron Pickaxe can technically swing at Eldritch Ore on floor 40, but you need the Steel Pickaxe minimum to actually extract anything. This is why the upgrade timing in the pickaxe upgrades tier table above is structured around the floor where each ore becomes common.
Is smelting raw ore always more profitable than selling it directly?
Yes, smelted bars sell for 3–4x the raw ore price once you subtract the coal smelting cost, and the gap widens at higher ore tiers. Eldritch Ore sells for 150g raw but 600g as a bar, which is a 4x multiplier. The only exception is when you urgently need inventory space and cannot carry both ore and coal back to the surface.
Grab your pickaxe, pack a mining tonic, and start mapping those elevator shortcuts — the deeper floors have riches no surface run can match.